01. spring-security 기본 설정

Written by niee on
- 개발 툴 : STS(3.6.0)
- STS 다운 주소 : http://spring.io/tools
- 위 사이트에서 STS 다운 받은 후 설치
- New -> Spring Project 생성
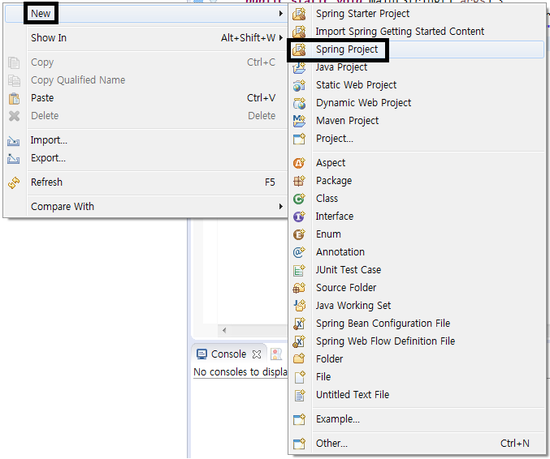
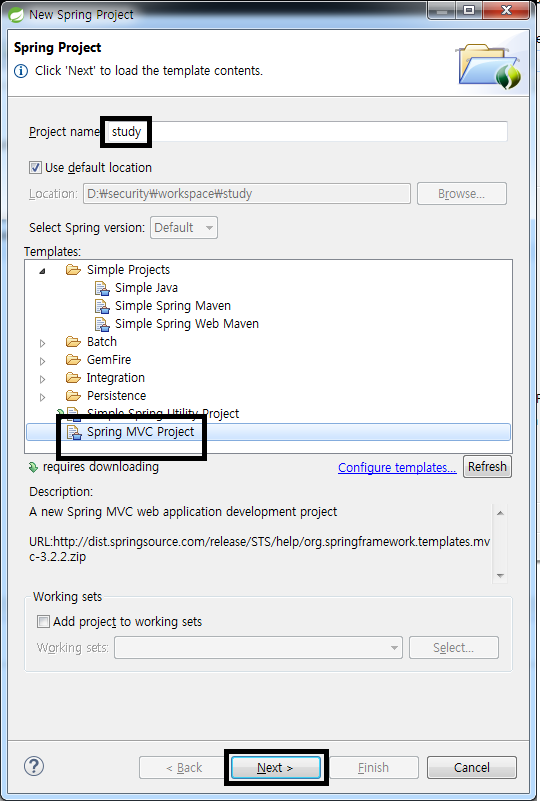
- project name 입력->Spring MVC project -> next
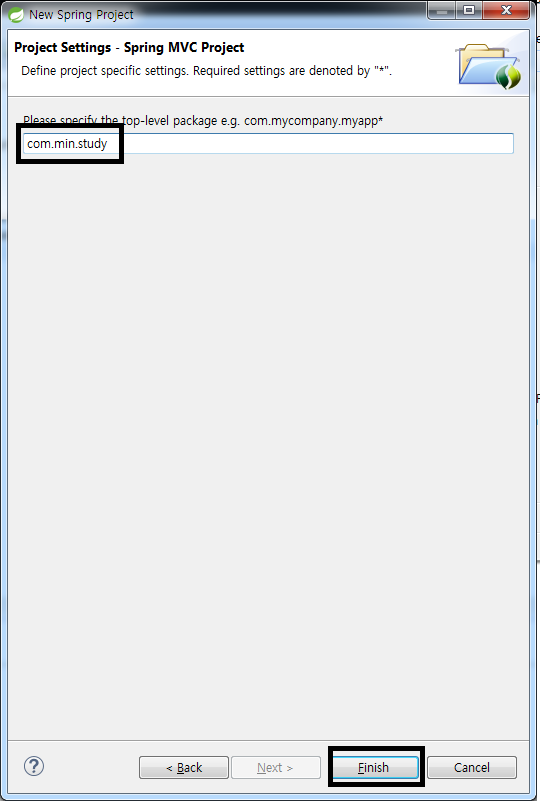
- package 설정 기본 패키지는 3개의 폴더로 지정해야함 ex)com.min.study
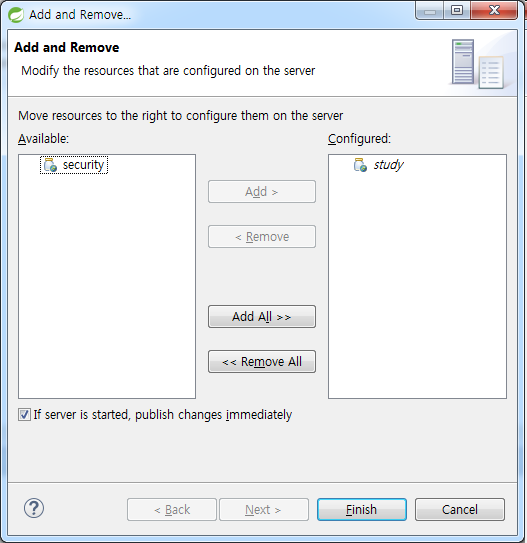
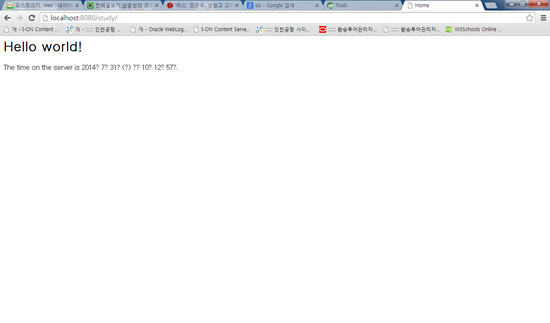
- 생성된 프로젝트 서버에 반영 후 로컬 접속 확인.
pom.xml에 spring security dependency추가(버전은 3.1.0.RELEASE)
<spring.security.version>3.1.0.RELEASE</spring.security.version>
<!-- Spring Security -->
<dependency>
<groupId>org.springframework.security</groupId>
<artifactId>spring-security-core</artifactId>
<version>${spring.security.version}</version>
<type>jar</type>
<scope>compile</scope>
</dependency>
<dependency>
<groupId>org.springframework.security</groupId>
<artifactId>spring-security-web</artifactId>
<version>${spring.security.version}</version>
<type>jar</type>
<scope>compile</scope>
</dependency>
<dependency>
<groupId>org.springframework.security</groupId>
<artifactId>spring-security-config</artifactId>
<version>${spring.security.version}</version>
<type>jar</type>
<scope>compile</scope>
</dependency>
<dependency>
<groupId>org.springframework.security</groupId>
<artifactId>spring-security-taglibs</artifactId>
<version>${spring.security.version}</version>
<type>jar</type>
<scope>compile</scope>
</dependency>
WEB-INF/spring/security/security-context.xml생성(경로 및 파일명은 각자 알아서)
<?xml version="1.0" encoding="UTF-8"?>
<beans:beans xmlns="http://www.springframework.org/schema/security"
 xmlns:beans="http://www.springframework.org/schema/beans" xmlns:xsi="http://www.w3.org/2001/XMLSchema-instance"
 xmlns:p="http://www.springframework.org/schema/p" xmlns:util="http://www.springframework.org/schema/util"
 xsi:schemaLocation="http://www.springframework.org/schema/beans
  http://www.springframework.org/schema/beans/spring-beans-3.1.xsd
  http://www.springframework.org/schema/security
  http://www.springframework.org/schema/security/spring-security-3.1.xsd
  http://www.springframework.org/schema/util
  http://www.springframework.org/schema/util/spring-util-3.1.xsd">

 <http auto-config="true">
  <intercept-url pattern="/**" access="ROLE_USER" />
 </http>

 <authentication-manager>
  <authentication-provider>
   <user-service>
    <user name="guest" authorities="ROLE_GUEST" password="guest"/>
    <user name="user" authorities="ROLE_USER" password="user"/>
   </user-service>
  </authentication-provider>
 </authentication-manager>

</beans:beans>
web.xml에spring-security filter등록 및context-param등록
<!-- spring-security filter -->
<filter>
 <filter-name>springSecurityFilterChain</filter-name>
 <filter-class>org.springframework.web.filter.DelegatingFilterProxy</filter-class>
</filter>
<filter-mapping>
 <filter-name>springSecurityFilterChain</filter-name>
 <url-pattern>/*</url-pattern>
</filter-mapping>
<context-param>
 <param-name>contextConfigLocation</param-name>
 <param-value>
  /WEB-INF/spring/root-context.xml
  /WEB-INF/spring/security/security-context.xml
 </param-value>
</context-param>
-
서버 재시작 후
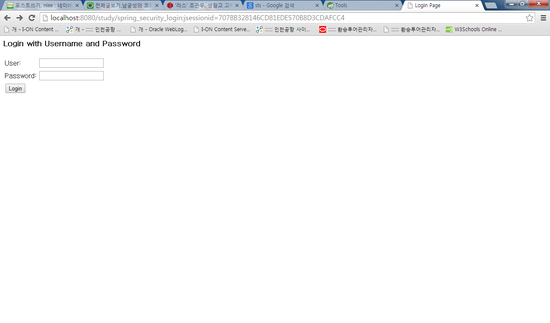
spring-security의 로그인 화면 확인 &security-context에 설정한 사용자로 접속 확인 -
로그인 화면
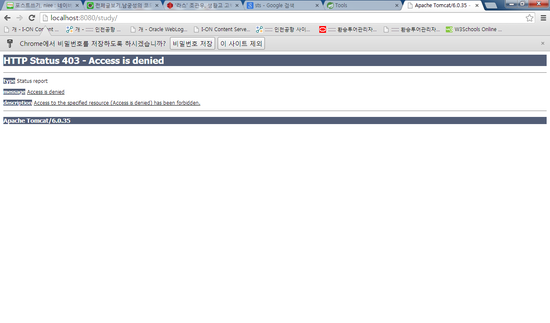
guest/guest접속 화면
user/user접속화면
대략 적인 설명
web.xml에서 /*로 모든 요청을 security 필터를 이용함
security-context.xml에 설정 된 내용을 바탕으로
<http auto-config="true">
 <intercept-url pattern="/**" access="ROLE_USER" />
 </http>
로 인해 spring security에서 설정한 기본 로그인 창이 보여지고 /**로 모든 URL에 접속하기 위해선
ROLE_USER 의 권한이 있어야 한다.
기본예제로
<authentication-manager>
 <authentication-provider>
  <user-service>
   <user name="guest" authorities="ROLE_GUEST" password="guest"/>
   <user name="user" authorities="ROLE_USER" password="user"/>
  </user-service>
 </authentication-provider>
</authentication-manager>
에서 guest와 user 두개의 계정을 생성하였고 각 권한을 ROLE_GUEST,ROLE_USER
를 주었기 때문에 guest는 권한이 없는 403페이지가 나오고 user는 다음 페이지 접속을 할수 있다.
기본 설정 끝.
Explore more like this
11. spring security 비밀번호 salt 암호화 하기
앞에 포스팅에서 sha256을 이용한 비밀번호 암호화에 대해 알아 봤다. 다른 암호화도 대부분 마찬가지지만, 비밀 번호를 암호화 했다고 해도 DB에 저장 됐을때 같은 암호면 암호화된 형태(hash값이)가 같다.
09. spring security @Secured 어노테이션을 사용하여 접근 권한 부여
접근 권한을 부여 할 때 security-context.xml에 직접선언을 할 수 있지만, @Secured어노테이션을 사용하면 좀 더 편하고 직관적인 권한 부여가 가능하다.
Comments